Why Defect Rates Matter More Than Most People Think
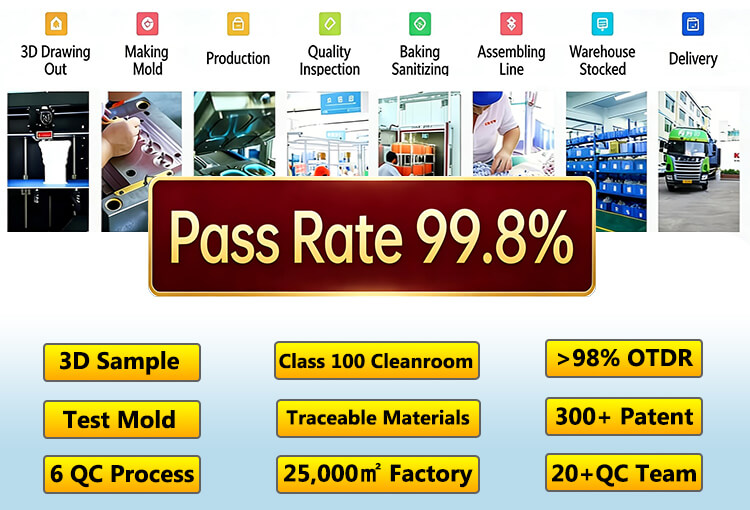
Defect rate is one of those numbers that gets mentioned constantly in silicone manufacturing, but its real meaning is often glossed over. On paper, the difference between 99% and 99.99% can look small. In real production environments, it changes everything.
Defects are manageable when volumes are low. Some of the rejected units can be reworked, replaced or written off with little disruption. At the increased scale of production, the same percentages begin to multiply. With a huge order, a one percent defect rate does not remain contained. It becomes delayed shipments, inventory gaps, customer complaints, and pressure on every team downstream.
The impact depends on where you sit in the supply chain. Brand owners feel it through negative reviews and weakened trust. Retailers deal with returns and shelf instability. Importers experience planning problems in supply chains that are already tight and inflexible. In every case, defect rate becomes a practical indicator of how predictable a manufacturing partner really is.
This is why we do not consider defect rate as something to fix at the end of the production process. We treat it as the outcome of how the entire system is built. A 99.99% defect-free rate is not achieved by inspecting harder or rejecting more parts. It comes from designing processes that make defects difficult to create in the first place.
Quality Is a System, Not a Final Inspection
End-of-line inspection has been the most common method of quality control in most factories. The reasoning is simple, the manufacturing comes first, the inspection later and the elimination of the faulty products. In case of problems, more inspection procedures are introduced.
Over time, the limits of this approach become clear. One can only see what is already wrong after inspection. When a defect is found, material has been utilized, labor has been wasted and time has been used up in production. Inspection also does not scale well. Fatigue sets in, judgment varies, and subtle issues are easily missed.
We take a different approach. Rather than focusing on how to catch defects, we focus on how to prevent them from occurring in the first place.
This change has a fundamental effect in the manner of quality construction. Quality prevention depends on constant inputs, managed processes and the ability to repeat. The corrective quality is a reaction to the failure. One can scale reliably. The other cannot.
A stable process provides consistent output in terms of results between shifts, operators and production volumes. No inspection can cover up a process that is not stable.
Preventive vs Corrective Quality
Aspect | Preventive Quality | Corrective Quality |
Primary Focus | Eliminating Root Causes | Detecting Finishing Defects |
When Action Occurs | Before Defects Are Created | After Defacts Appear |
Scalability | High | Limited |
Cost Impact over Time | Decreases as Volume Grows | Increases as Volume Grows |
Reliance on Inspection | Minimal | Heavy |
Controlling Risk at the Source: Raw Material Discipline
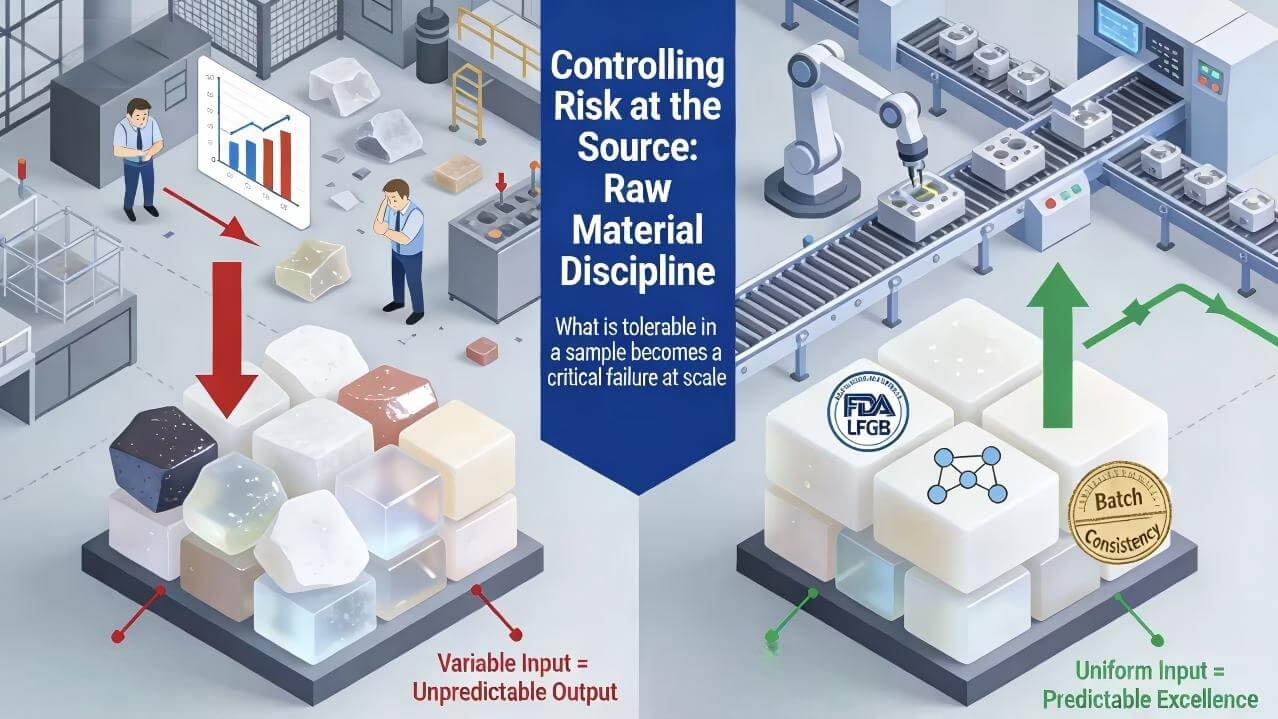
All silicone products begin with raw material. When such material is not consistent, all the downstream processes are hard to control.
The most prevalent myth in silicone production is that the various silicone materials are all the same provided that they conform to the minimum compliance standards. As a matter of fact, the slightest changes in the formulation or consistency might be enormous as soon as the production is increased. What appears acceptable on small scale sampling may easily become defect when the volume is huge.
Supplier qualification comes before cost
Material suppliers are evaluated primarily on their ability to deliver long-term consistency, not on price alone. This evaluation includes:
● Reliability between batches of formulation.
● Change control discipline, documentation.
● Previous performance information.
● Readiness to approve traceability and root-cause analysis.
Only after these criteria are met does cost become a consideration. Inconsistent material introduces risks that no downstream process can fully eliminate.
Material properties that quietly drive defects
Certain raw material characteristics have a disproportionate effect on defect rates, even though they may not be obvious during initial sampling. These include:
● Change in hardness of the shore which influences the dimensional stability.
● Volatile material, which may cause odor or surface flaws.
● Filler dispersion (tearing and weak points).
● Cure behavior, which influences long term durability and elasticity.
These properties are verified during incoming inspection. They are confirmed through testing, not assumed based on documentation alone.
Why batch traceability matters
Every material batch is logged, inspected, and linked to specific production runs. This becomes critical when issues appear later in the product lifecycle.
Minor material drift often appears harmless at first. Weeks later, when products begin to fail in the field, traceability determines whether the issue can be isolated quickly or turns into a long, costly investigation.
Design Review and DFM: Preventing Problems Before Production
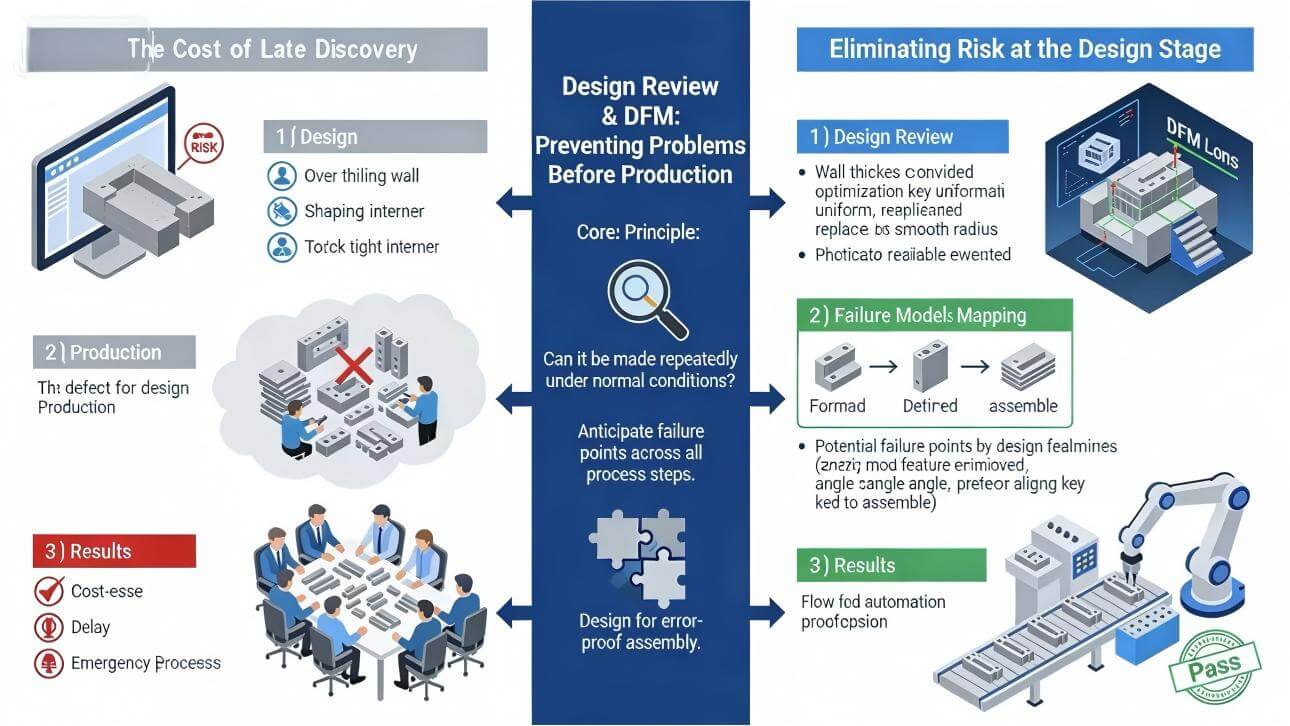
A large portion of manufacturing defects originate in design, not on the production floor.
Design for Manufacturing is not a formality. It is one of the most effective quality tools available.
Before tooling is approved, designs are reviewed with a simple question in mind: can this part be produced repeatedly under normal conditions, without relying on special handling or exceptional operator skill?
What design review focuses on
We look for features that create hidden risk later, such as:
● Walls that are too thin to fill consistently
● Sharp transitions that concentrate stress
● Tight tolerances that leave no margin for variation
● Geometry that complicates demolding or trimming
If a design only works under ideal conditions, it will fail at scale. Those designs are revised early, when changes are still inexpensive.
Anticipating failure instead of reacting to it
Rather than waiting for defects to appear, potential failure points are mapped across each process step. This includes molding, demolding, trimming, assembly, and packaging.
By addressing these risks upfront, defects are eliminated before production begins.
Reducing dependence on human judgment
Where possible, designs are adjusted so that:
● Parts can only be assembled one way
● Incorrect orientation is physically difficult
● Ambiguous steps are removed
When quality depends less on individual judgment, it becomes more repeatable.
Mold Precision and Tooling Control
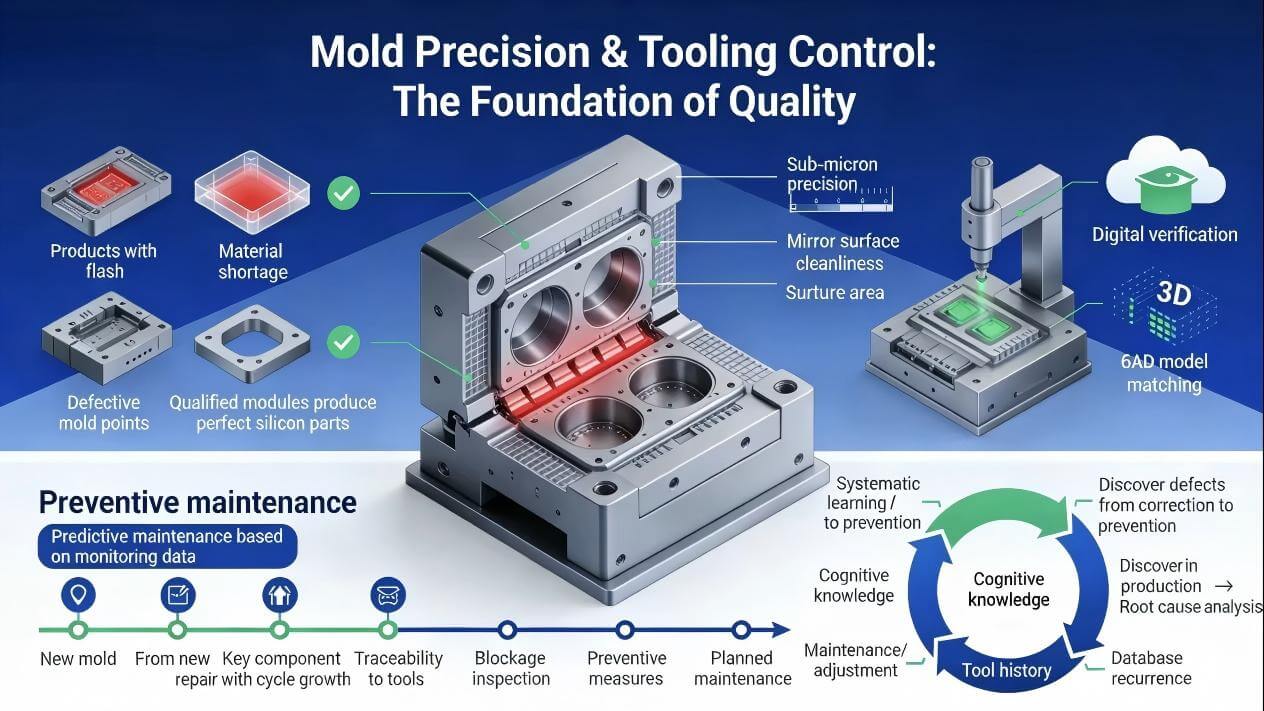
In silicone manufacturing, tooling defines the upper limit of quality. No process can outperform the mold that shapes the product.
Why mold precision matters
Product consistency directly depends on the precision of molds in silicone manufacturing. Minor variations in cavity size, surface finish or venting design can cause repeatable defects that can be initially random. Problems associated with flash, short shots, surface blemishes, and progressive dimensional variation are usually related to tooling, and not to process settings or operator manipulation.
Validation before mass production
Any mold released is first subjected to a structured validation process before it is released to full production. This validation confirms:
● Dimensional accuracy
● Surface consistency
● Demolding behavior
● Consistency between production cycles.
The approval of molds is not done on visual inspection but rather on measured data and proven performance.
Managing tooling wear over time
Tooling does not breakdown abruptly. It degrades gradually.
With no clearly established cycles of maintaining, quality drift may remain undetected until there is an increase in defect rates. The typical risks include surface wear, vent blockage and drift in alignment. They all possess a specific inspection and maintenance period.
When tooling contributes to a defect, the response is documented, corrected, and fed back into the tooling history so the same issue does not recur unnoticed.
Samples and First Articles: What They Really Tell You
Samples are frequently misunderstood. A good-looking sample does not automatically mean a stable process.
A meaningful sample represents normal production conditions, standard materials, and standard settings. If a sample only passes after adjustment or selective sorting, it signals instability rather than success.
Samples are tested on the basis of dimensional accuracy, visual consistency and functional performance as compared to predefined benchmarks. They are also required to prove the consistency of not only the design, but also the repeatability of the process itself.
Environmental Control and Process Stability
Silicone processing is sensitive to its environment. Minor variations in temperature, humidity, or cleanliness may become apparent.
These parameters are also monitored in real time hence deviations are solved immediately and not when defects are observed. SOPs provide stability across-shift, operators, and production lines.
Quality should not depend on who is working or when. Variation is measured and managed, not assumed away.
Assembly and In-Process Verification
One of the most risky phases of production of defects is assembly due to direct contact with a human.
Layered verification detects errors early, when it is easier and less expensive to fix. Where practical, fixtures and tooling are made in such a way that wrong assembly is physically impossible. Upon the occurrence of any errors, correction occurs instantly as opposed to being postponed.
Final Inspection and Real-World Testing
Final inspection still matters, but it has limits. It is efficient to identify apparent and operational problems. It cannot compensate for poor materials, weak processes, or flawed design.
The testing conditions are correlated with the actual application, such as handling, cleaning and repeated stress instead of the ideal conditions in the laboratory.
What Inspection Can and Cannot Do
Area | What Inspection Helps With | What Inspection Cannot Fix |
Visual defects | Surface marks, flash, cosmetic issues | Root causes of recurring defects |
Functional checks | Obvious failures | Long-term durability issues |
Compliance | Catching nonconforming units | Weak process control |
Overall quality | Filtering defects | Preventing defects from being created |
Certifications as Baselines, Not Guarantees
Certifications establish minimum requirements. They are necessary, but they do not guarantee performance.
Their real value lies in reinforcing documentation discipline, traceability, and audit readiness. When embedded into daily operations, they support quality rather than replace it.
Traceability and Feedback as Ongoing Signals
Each production batch is associated with material lots, tooling and process conditions. This enables the problems to be tracked and rectified in a more accurate manner.
Feedback from the customers is considered process data. It points out the areas of inconsistency between assumptions and real world applications and optimises systems over time.
What a 99.99% Defect-Free Rate Means in Practice
To clients, this quality level manifests itself in some basic ways. Fewer returns. More predictable inventory. Less operational noise.
In the long term, consistency safeguards brand equity and lowers total cost even in cases where unit price does not have the lowest price.
Why Sustainable Quality Is Built, Not Inspected
Higher inspection does not result in a 99.99% rate of defect free. It is developed by disciplined systems that eliminate defects at all levels.
Buyers who consider manufacturing partners must go beyond assurances and concentrate on quality engineering. Sustainable quality is deliberate, repeatable and system-driven. It is never accidental.


